|
|
|
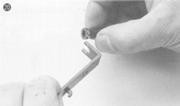
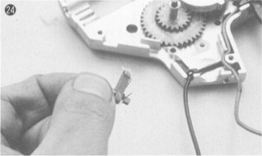
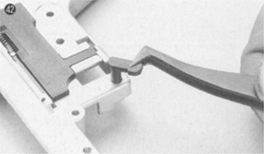
The tappet plate holds the nozzle in a slot. There are a lot of custom parts for these two, choose the one that fits your need the best.
|
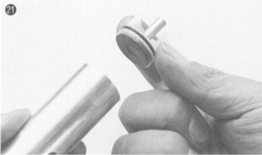
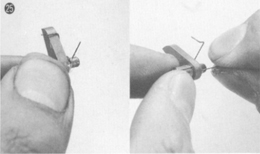
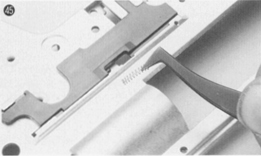
The cylinder head can now be separated from the cylinder. There's also grease sticking to these parts, so think about where to put them. Tons of custom parts are available for these, again, choose the ones that suits you the best. Apply a think layer of low viscosity grease when you re-install these parts.
|
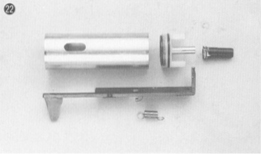
Cylinder related parts will affect power, range and accuracy the most. There are as many custom parts here as there are custom gears. As I emphasized before, use the set that suits your need the best.
|
|
After taking out all the air piston related parts, gears are the next. Start by taking out the top most bevel gear. Since it merely sits on the other gears, this is a no brainer.
|
The small part shown on the picture is the anti-reversal latch. If this part is absent, all parts in the mech box may be damaged due to reverse movement. Absolutely do not forget it when putting everything back together
|
There's a spring on the anti-reversal latch. It's better to remember how it's attached to the latch, or, if you understood how every thing works in conjunction, you can automatically figure out how it goes on.
|
|

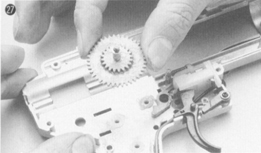
Now is the time to take the sector gear out. This gear is where the energy created by the motor is finally delivered to the piston. If you want to replace it with custom parts, make sure you also replace the piston with the one that fits this gear. (ie, helical vs. all helical/normal)
|
The disassembly is mainly finished after you take out the spur gear. It's always good to remember the order of these items. Of course, in case you got confused, image 14 should help out. Of course, you'll need to apply grease when putting the gears back in. Recent technological advances produced some very efficient grease, which not only reduces friction between the gears, but noise as well. Check with your local hardware or hobby stores.
|
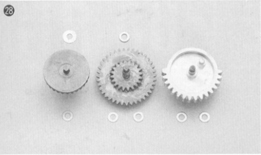
These three gears moves the most inside an AEG. Again, tons of custom gears exist, choose the one that fits your needs the best. Some gears will reduce the ROF in order to compress stiffer spring. Just don't forget to apply grease when you reinstall them. Also, depending on the gear and bushing combo, you'll need different number of shims. Usually the gear's installation manual will mention shim placement. If not, you'll have to try different configurations and find the optimal setting (a time consuming process).
|
|
You can also simply pull out the trigger unit from the mech box. There's a spring attached on the reverse side, don't lose it.
|

|

Leftside view of the trigger. If you can't remember how the spring goes in, take a look at this picture so you can place it back in correctly
|
|
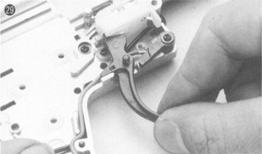
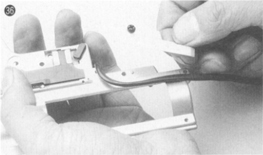
To fully take everything apart, you can also take out this cord stopper. The cord leads to the switch box. Use a pincer to take out the stopper.
|
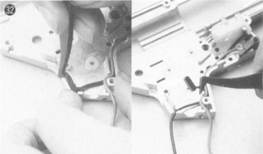
Before taking out the switch assembly, first remove this spring here. Since it's very small, pay close attention to it. A screw driver is usually good for this.
|

|
|
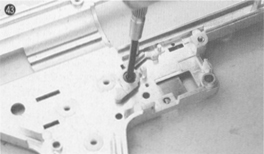
Flip the mech box over and remove the small screw shown in the picture.
|
This plate is only held to the mech box by one screw, so just pull it out after you remove the screw.
|

The switch assembly is also held by only one screw. In this case, us a precision screw driver to remove it.
|
|
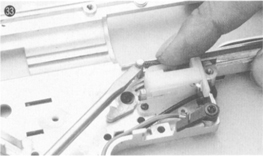
Now you can remove the switch assembly. AEGs need internal lubrication, but make sure that no lubrication, regardless whether it's grease or silicon oil, gets into this assembly. Also, you can't take this unit apart. However, electrical grease can be applied here.
|

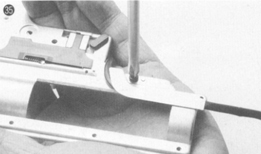
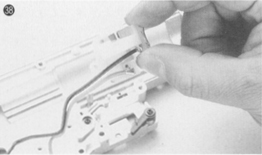
You'll need a philips head screw driver in order to remove the stopper arm. Since the screw is quite small, use a precision screw driver.
|
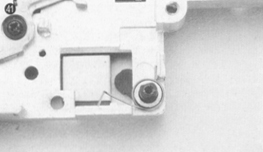
This is the correct setting position of the stopper arm.
|
|
It's better to understand how the stopper arm spring works. When the spring is installed, the stopper arm should be pushed in the counter clockwise direction. If you think about how each part works when taking them a part, it's easy to understand their essential function.
|
Take out this latch, seen from the outside of the mech box. This unit is necessary for semi-auto action. If it's damaged or forgotten while re-assembling, you won't be able to shoot in semi-auto mode. So check it regularly.
|
Use a philips head screw driver to remove the semi-auto cut off lever. Everything needs to be able to move freely when putting them together back into the mech box, this lever is no exception. You should make sure the lever can move freely when putting it back in. Don't forget to apply some grease here as well.
|
|

You can now remove the cut-off lever. It's fairly small, but essential for proper operation, so make sure you don't forget to re-install it.
|
The selector plate spring is very small, use a pincer to remove it. When taking every thing apart, pay special attention to small parts, since all parts are necessary in order for the mech box to work properly.
|
Now simply slide the selector plate out. This is a key part in firing mode selection.
|
|
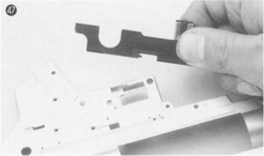
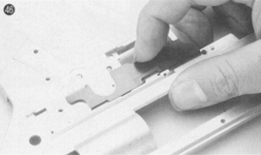
The picture shows the removed selector plate. Disassembly is pretty much over upto this point, except perhaps one final step.
|
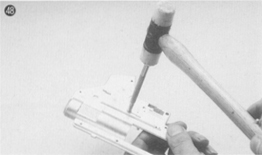
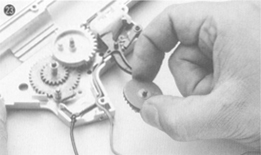
The bushings can be removed by simply knocking them off as shown in the picture. This is usually the first thing that should be replaced when customizing an AEG. Usually, ball bearing replacements work best.
|
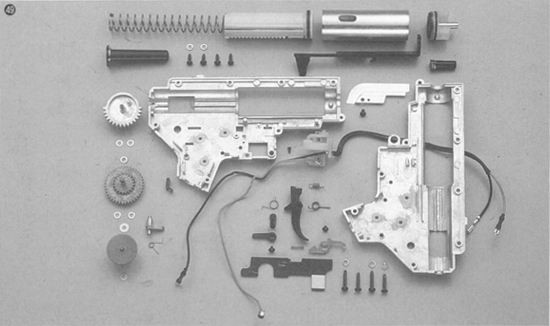
The completely disassembled mech box.
|


